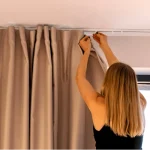
Blinds installation is the best way to get full privacy in the space. They provide privacy and control dust in any interior. By installing a blind, you can control outsiders’ view of your home. In the summer, these blinds provide full-sun protection for windows and residents. Further, it is the best way to lower your energy bills.
If you are planning to install window shades at home, Blinds curtain Dubai has prepared this smart guide to make it easier. View the steps for a smooth installation of shades in a Dubai home.
Easy DIY Installation Steps For Window Blinds
Professional blinds fitting in Dubai is quite expensive, which is why we offer a solution. Our experts crafted a smart, step-by-step guide for homeowners to complete a quick DIY installation within budget. Installing blinds can seem like a difficult task, but you can achieve a hassle-free fit by following the steps.
Required Tools & Necessary Materials
The following are the tools and materials that are needed for blind fixing.
- Drill Machine
- Screws
- Gloves
- Ladder
- Pencil
- Level
- Measuring Tape
- Screw Driver
- Brackets
- Clips
- Wall Anchors
- Curtains
- Rods
- Tracks
1-Take Window Dimension
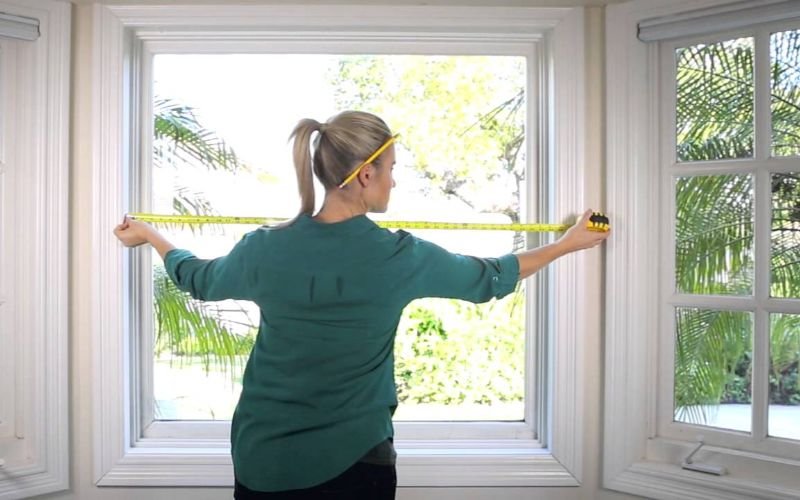
First step: take a measuring tape and start measuring the windows.
i-Height
It is recommended to start measuring the height from the top of the window to the bottom. This procedure will include every inch in between the frame and the wall. Take at least three measurements and record them. Leave 1-2 inches of extra space at the top and bottom.
ii-Depth
Make sure to check your window frame to see if it is deep enough to accommodate your wooden blinds installation. According to experts’ recommendations, a depth of 2.5 inches is a basic requirement for blind fitting.
iii-Width
Take at least three measurements of the window width from the top, bottom, and in the centre. After measuring the entire frame, choose the best close measurement for fitting. To achieve full window coverage, add 1-2 inches to each side.
2-Plan & Layout the Elements
Plan the layout of the items you want to insert during the roller blinds installation process. In addition to installing the blind, write down which rods to add. Further, choose an inside or an outside mount system based on your needs. Besides, select patterns and styles, along with the color of the blinds you plan to add, to complement your interior theme. Decide whether to add horizontal or vertical blinds to your windows.
Figure out which sort of frame to insert, either wood, metal, or PVC, as per your requirement. List down the accessories to insert: tassels, bottom or side weight, or beaded chains. After writing it down, you will be able to install it without any disturbance.
3-Mark The Spots With A Pencil
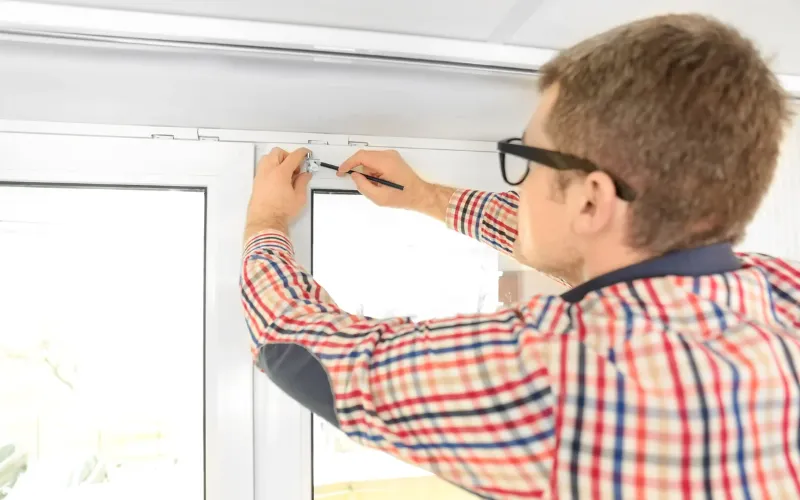
Take a pencil and start marking the spots where you want to insert nails or screws. Spot a mark at the correct location on the mount brackets. Furthermore, for an inside mount, mark the top edges of the frame. While for outdoor blinds mark beyond the frame of windows in accordance with the desired height and width. Besides, this process will save you time while drilling holes. Consequently, it makes a 100% accurate installation at the specified space with zero error.
4-Drill The Holes In The Window Frame

After all the marking and measuring, now place the brackets on the space. Take a screwdriver and drill the hole in the given spots. Ensure the bracket is placed very well. Measure the level after fixing the brackets so that it fits accurately. In addition, use wall anchors for a more stable and secure installation.
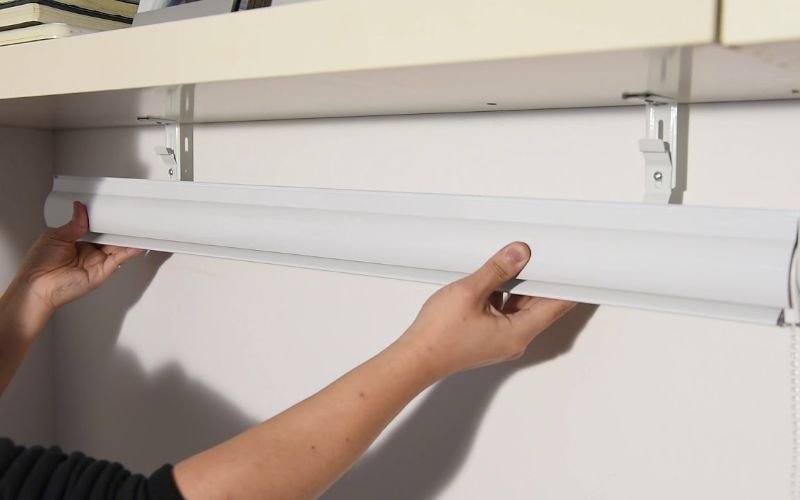
5-Insert The Headrail Carefully In The Bracket
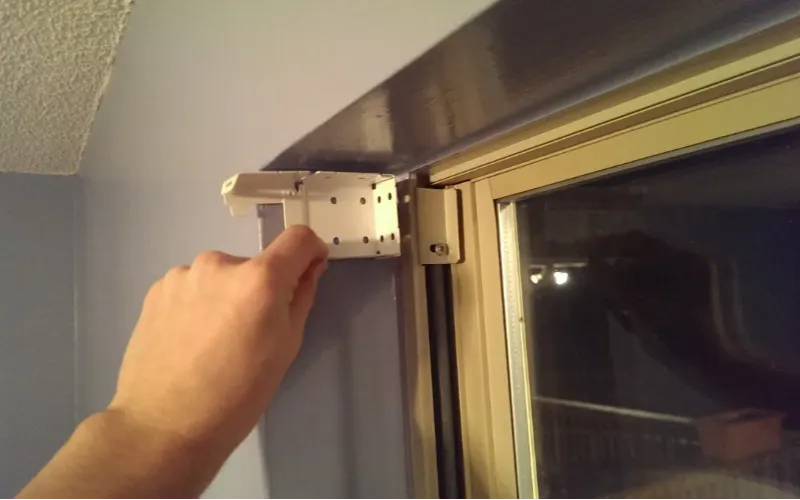
Right after bracket fitting, it’s time to place the blinds. Carefully place the headrail on the previously installed bracket. Next, use the spirit level to align the headrail with the bracket. Besides, lift the blinds and clips, and slide the rail on the bracket. Lock the clips on both sides for secure results.
6-Test The System Of Blinds
Check the blinds’ operating capacity after the fitting. Try raising or lowering them to test the operation and installation accuracy of the blinds. Besides, their smooth functioning is an absolute requirement during installation. In addition, you can follow the supplier’s instructions for blinds to check the operating procedure. Further, if blinds are not hung straight, there is a high chance they will not be fitted accurately. Reassure and re-adjust the brackets on the same level as the blinds to achieve the desired results.
7-Insert Cords or Strings
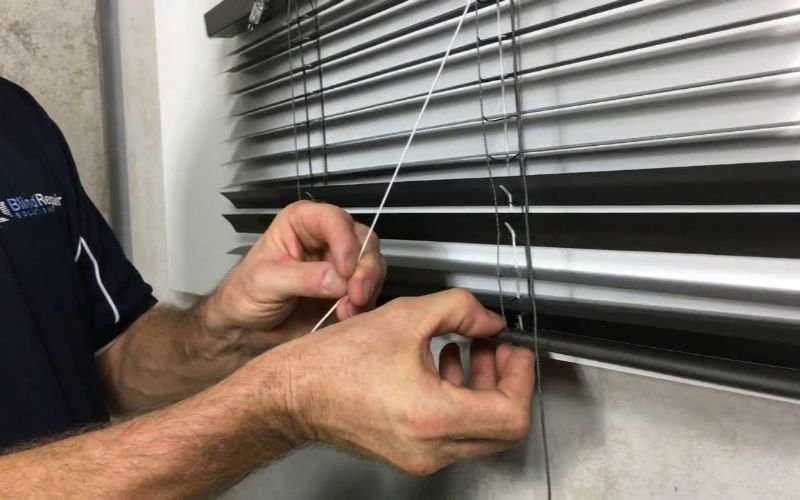
Check whether your installation requires adding cords or strings, and insert them correctly. If you have pets or kids at your house, you may want to consider installing blind cord covers. Further, adding cord cleats will increase the safety of kids and pets.
8-Add Decorative Elements
If your installation involved this cornice and valence addition, then follow these steps. Slide the clips on the top of the blind rail. Next, place each clip 2-3 inches from each side. Leave a space of almost 36 inches between the clips. Now, attach the valence with the clips and move the bottom section of the clip. Try to push the top section of the valence inside the fitting and secure it.
9-Final Look

Check the blinds, bracket, and headrail; either all the fittings are done right or not. Move the blind lightly to see the installation. Check that the brackets and blinds are on the same level. Add any accessories you planned to install during installation. Open and close the blinds with the beaded strip to check whether it works smoothly or if there is an error. Clean up all the mess and leave the place tidy after fitting the blinds.
Avoid The Mistakes During Installation
During blind installation, several factors can lead to mistakes that must be avoided at all costs.
- Taking the wrong measurement will result in inaccurate width, length, and depth.
- If you totally skip the use of a spirit level, it will cause a huge mistake, as blinds may not function properly.
- Over-tightening the screws will weaken the support, as the threads can strip out of the wall.
- Use of the wrong tool can damage your wall, leaving holes and imperfections behind.
Careful Tips For Long-Lasting Results
If you want to keep the blinds in good condition for years, follow these maintenance tips to extend their lifespan.
- Regularly clean the blinds with a soft brush.
- Remove dust weekly with the vacuum cleaner.
- If you find any spots, immediately remove them with stain remover.
- To preserve its originality, try cleaning it by hand.
- Check the components of the motorized blinds and lubricate them monthly for smooth operation.
- Check the motor and sensors on your blinds and make repairs or replacements.
- If your blinds’ hardware or frame is broken, repair it immediately for better operation.
Final Remarks
Blind installation will transform your windows into a space that is both aesthetically pleasing and functionally perfect. Through the smart guide, you can DIY the blind installation process at a lower cost. To begin the fitting, you have to gather the tools and equipment to avoid tension. Next, mark the holes, drill the spots, and insert brackets for blind fitting. Afterwards, place the blinds on the headrail, and check their operation.